Unlocking the Secrets of Metal Roofing Installation in the Valley of the Sun
As a long-time resident of Phoenix, I can tell you that our city is no stranger to extreme weather. From scorching summer days to the occasional monsoon downpour, our homes need to be built to withstand the elements. That’s why more and more homeowners in the area are turning to metal roofing as their go-to choice for a durable and long-lasting solution.
But let’s be honest, the idea of a metal roof installation can be a bit daunting, especially if you’ve never gone through the process before. Fear not, my friends! In this comprehensive guide, I’ll take you on a step-by-step journey through the metal roofing installation process, sharing insider tips and tricks to make sure your project goes as smoothly as the panels on your new roof.
Understanding the Basics of Metal Roofing
Before we dive into the nitty-gritty of the installation process, let’s start with the basics. Metal roofing, particularly the standing seam variety, has become increasingly popular in recent years due to its impressive durability, fire resistance, and energy efficiency.
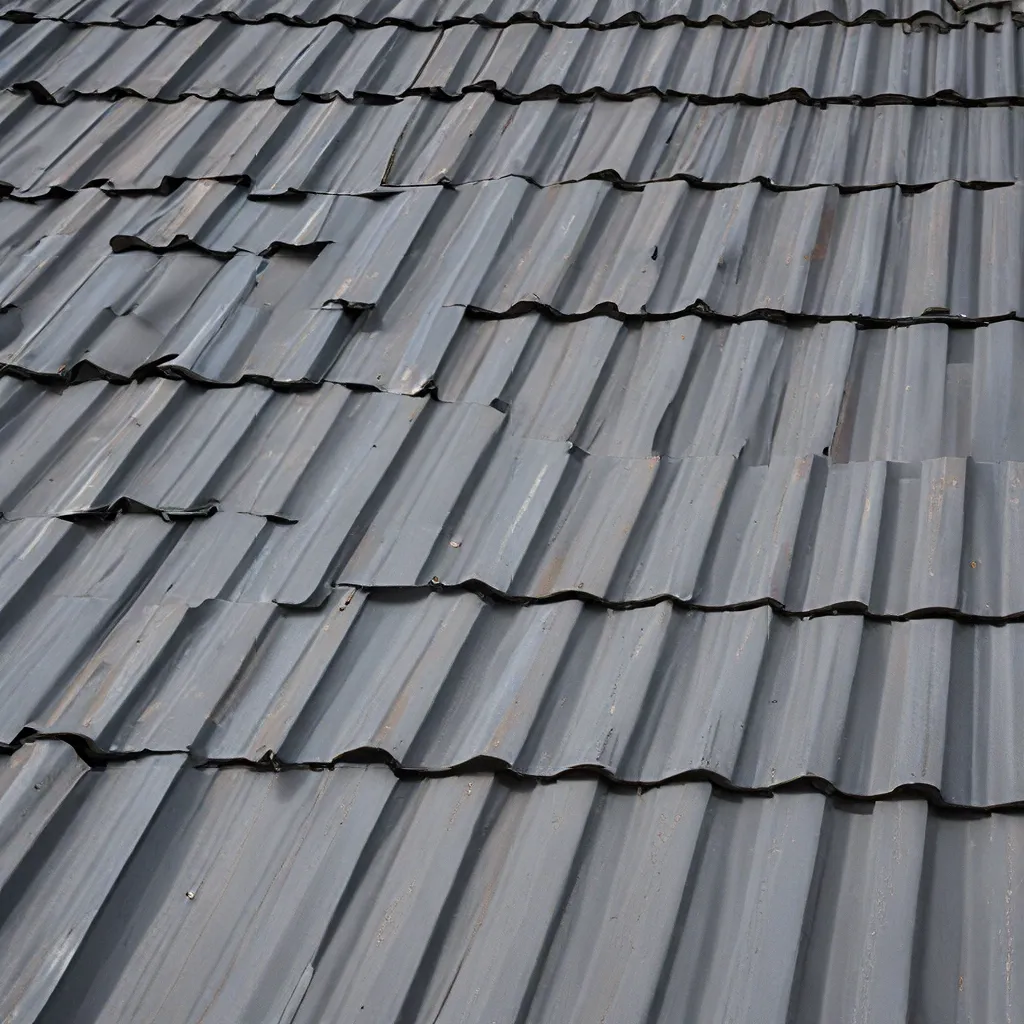
Standing seam metal roofs feature a series of raised, interlocking panels that create a sleek, modern look. These panels are designed to withstand the harsh Phoenix climate, from scorching summer heat to the occasional hail storm.
One of the key advantages of metal roofing is its longevity. Most metal roofs have a lifespan of 40-70 years, making them a worthwhile investment for homeowners in our region. Additionally, metal roofs are highly energy-efficient, helping to keep your home cool and your utility bills low.
Preparing for the Metal Roofing Installation
Alright, now that we’ve covered the basics, let’s dive into the installation process. The first step is to ensure your roof is ready for the new metal panels. This means carefully inspecting the existing roof structure to identify any issues that need to be addressed.
Tip: It’s always a good idea to work with a reputable metal roofing contractor who can provide a thorough inspection and recommend any necessary repairs before the installation begins.
One crucial step in the preparation phase is to ensure that your roof meets the minimum size requirements. Most metal roofing companies require a minimum of 750 square feet to provide a quote or sample. This helps them ensure that the project is a good fit for their services and that the installation can be carried out efficiently.
Once the roof inspection is complete and any necessary repairs have been made, it’s time to start planning the actual installation process.
The Step-by-Step Metal Roofing Installation
Now, here’s where the fun really begins! Let’s dive into the step-by-step process of installing your brand-new metal roof.
Step 1: Laying the Foundation
The first step in the installation process is to ensure that the roof deck is properly prepared. This may involve removing the existing roofing material and addressing any structural issues or uneven surfaces. A smooth, level surface is essential for a successful metal roof installation.
Tip: Be sure to work with a contractor who follows all local building codes and regulations to ensure your new roof is safe and up to par.
Step 2: Underlayment and Flashing
With the roof deck prepped and ready, it’s time to install the underlayment and flashing. The underlayment acts as a barrier between the metal panels and the roof deck, helping to prevent moisture and leaks. Proper flashing around chimneys, vents, and other roof penetrations is also crucial to maintaining the integrity of your new metal roof.
Step 3: Laying the Metal Panels
Now, the real magic happens! Your metal roofing contractor will carefully measure and cut the panels to fit your roof’s unique shape and dimensions. They’ll then begin the process of installing the panels, using specialized tools and techniques to ensure a secure and watertight fit.
Tip: Pay close attention to the way your contractor handles the panels during this step. A skilled installer will know how to properly bend the panels at the eaves and neatly cut and finish them at the corners. This attention to detail can make a big difference in the overall look and performance of your new metal roof.
Step 4: Finishing Touches
Once the panels are in place, your contractor will focus on the finishing touches. This includes installing any necessary trim pieces, sealing the seams, and ensuring that all the components are properly secured and weatherproofed.
Tip: Don’t be afraid to ask your contractor about the specific techniques and materials they’re using. A reputable company should be happy to explain the process and address any questions or concerns you might have.
Step 5: Cleanup and Inspection
The final step in the metal roofing installation process is the cleanup and inspection. Your contractor should thoroughly clean up any debris or leftover materials, leaving your property looking as good as new. They’ll also conduct a final inspection to ensure that the roof is installed correctly and meets all necessary standards and regulations.
The Benefits of a Seamless Metal Roofing Installation
Now that you’ve seen the step-by-step process of a metal roofing installation, you might be wondering, “Is it worth the effort?” The answer, my friends, is a resounding yes!
Not only does a metal roof provide unparalleled durability and weather resistance, but the installation process itself can also be a smooth and stress-free experience. When you work with a reputable contractor who follows industry best practices, you can rest assured that your new roof will be installed to perfection.
At our company, we pride ourselves on our commitment to quality workmanship and customer satisfaction. We understand that a roof installation can be a significant investment, which is why we take the time to guide our clients through every step of the process, ensuring that their needs are met and their expectations are exceeded.
So, if you’re ready to upgrade your home with a durable and energy-efficient metal roof, don’t hesitate to reach out to us. We’ll be happy to provide a free consultation and help you navigate the installation process from start to finish.
With the right guidance and a skilled contractor by your side, the metal roofing installation process can be a breeze. So, what are you waiting for? Let’s get started on transforming your home with a beautiful and long-lasting metal roof!
